Home Safety Modifications for Seniors: Complete Room-by-Room Checklist [2025]
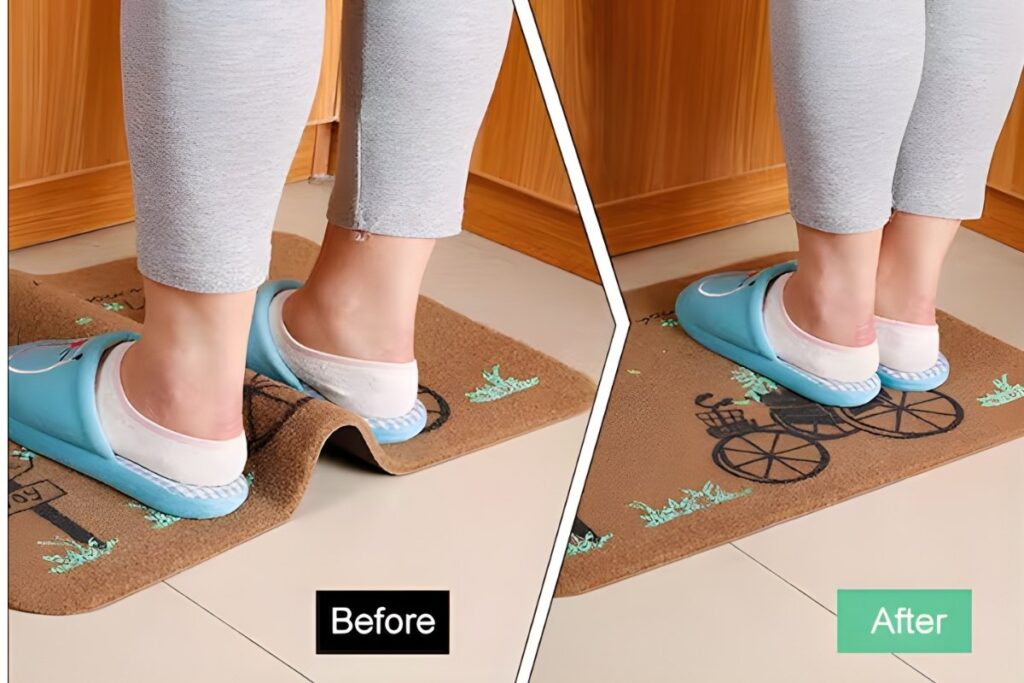
My aunt was fiercely independent. At 82, she still lived alone in the home she’d owned for 50 years. We’d talked about the throw rugs scattered on her hardwood floors, but she loved them. “They add color,” she’d say. Then one evening, her slipper caught the edge of a runner on her way to the bathroom. The fall resulted in a broken hip and the end of her ability to live independently.
A simple roll of rug tape, costing less than $10, could have prevented it all.
If you’re looking to help your parent age in place safely, you’re in the right place. Proactive home safety modifications for seniors can prevent devastating falls, build confidence, and add years of independence in the home they love. This guide provides a complete, room-by-room checklist of practical and affordable changes you can make to create a safer living environment.
When Home Modifications Make Sense (vs. Moving)
“Aging in place” is a wonderful goal, but it’s essential to be realistic about when it’s a safe option. Home modifications are most effective for seniors who:
- Have mild to moderate mobility issues.
- Are cognitively intact and can use safety aids correctly.
- Have a strong support system of family or friends nearby.
- Live in a home that is relatively easy to adapt (e.g., one-story or with a main-floor bedroom and bath).
However, modifications may not be enough if your parent is experiencing dementia, has a severe fall risk, or lives in a multi-story home that is difficult to navigate. Before you invest time and money, it’s wise to review the 15 warning signs that a parent may no longer be safe living alone to make an informed assessment.
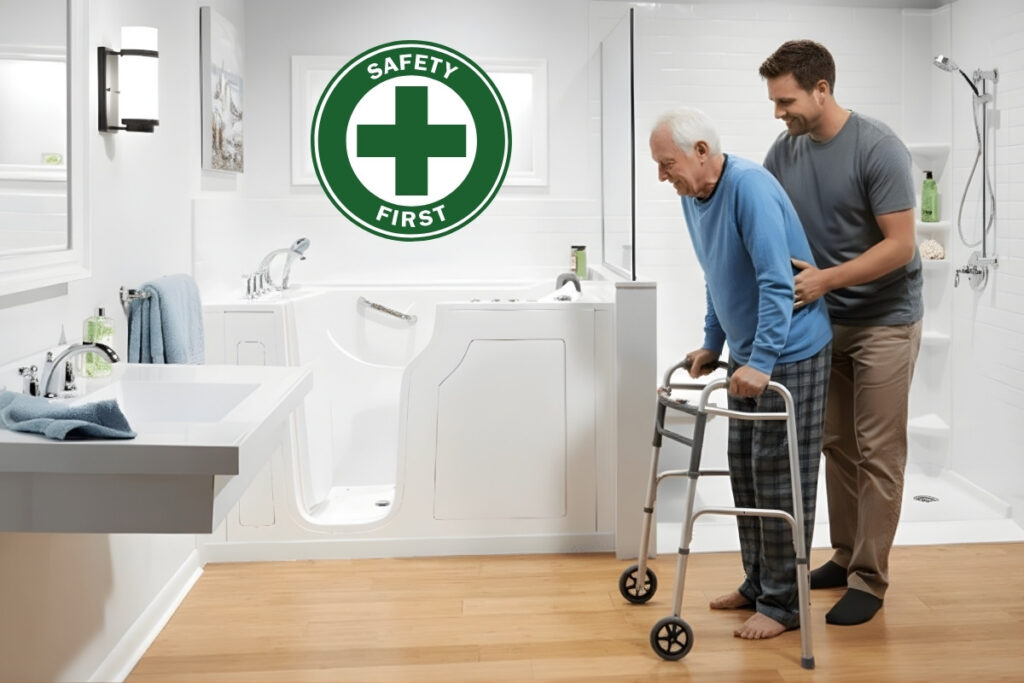
Bathroom Safety (Highest Priority)
Start here. According to the National Institute on Aging, more than one in three seniors over 65 falls each year, and 80% of those falls occur in the bathroom. The combination of wet surfaces, hard tile, and mobility challenges makes this the most dangerous room in the house.
Essential Bathroom Modifications:
- Grab Bars: This is the single most important modification.
- Where to Install: Install them vertically by the tub or shower entrance, horizontally inside the shower, and near the toilet to assist with sitting and standing.
- Type: Always choose professionally mounted grab bars. Suction cup models are not designed to hold a person’s full body weight and can fail when needed most.
- Price: $15 – $50 each, plus installation.
- Non-Slip Solutions:
- Place a high-quality, non-slip mat with suction cups inside the bathtub or shower.
- Apply non-slip adhesive strips to the tub floor.
- Replace standard bath mats with ones that have a rubber, non-skid backing.
- Price: $10 – $30.
- Showering & Toileting Aids:
- Shower Chair or Transfer Bench (40−40−100): Allows your parent to sit while bathing, dramatically reducing the risk of a slip.
- Handheld Showerhead (25−25−60): Makes it easy to bathe while seated.
- Raised Toilet Seat or Toilet Safety Rails (30−30−80): Reduces the distance and effort required to sit down and stand up from the toilet.
- Lighting and Other Tips:
- Plug in motion-sensor night lights for safe navigation in the dark.
- Ensure bright, even overhead lighting to eliminate shadows.
- Lower the hot water heater temperature to 120°F (49°C) to prevent scalding.
- Remove the lock on the bathroom door to allow for emergency access.
Bedroom Safety
The bedroom should be a sanctuary, not a hazard zone. The goal is to ensure a clear, safe path from the bed to the bathroom.
- Bed Modifications:
- Install a bed rail or handle (30−30−70) to provide a stable grip for getting in and out of bed.
- Ensure the mattress is firm and the bed height allows your parent’s feet to touch the floor when seated on the edge.
- Lighting:
- Place a lamp on a bedside table that is easy to reach without stretching.
- Use motion-sensor night lights to illuminate the path to the bathroom.
- Keep a flashlight in the nightstand drawer in case of a power outage.
- Fall Prevention:
- Create a wide, clear pathway from the bed to the door. Remove all clutter, cords, and unnecessary furniture.
- Remove all throw rugs. If you must have a rug, secure it firmly with double-sided rug tape.
- Emergency Access:
- Keep a phone on the nightstand.
- Consider a medical alert system with a wearable button they can press if they fall and can’t get up.
Stairs and Hallways
Stairs are a major fall risk, and cluttered hallways can be an obstacle course.
- Stair Safety:
- Install sturdy handrails on both sides of the staircase.
- Apply non-slip tread strips to wooden stairs (20−20−40).
- Ensure bright lighting at both the top and bottom of the stairs, with easy-to-access switches.
- Never, ever store items on the stairs.
- Stairlift Consideration: For a senior who cannot safely navigate stairs, a stairlift (3,000−3,000−10,000) is a major but potentially necessary investment. The simpler alternative is to move their primary living space to the main floor.
- Hallway Safety:
- Ensure hallways are wide and free of clutter.
- Remove or secure any extension cords that cross pathways.
- Use plug-in night lights to illuminate the route from the bedroom to the bathroom.
Kitchen Safety
The kitchen presents risks from burns, cuts, and falls.
- Appliance & Fire Safety:
- Invest in a stove with an automatic shut-off feature if forgetfulness is an issue.
- Place the microwave at a safe, accessible height (not too high or too low).
- Keep a small, easy-to-use fire extinguisher within reach.
- Storage Modifications:
- Move the most-used items (dishes, glasses, common foods) to waist-level shelves and counters.
- Install lazy Susans or pull-out shelves in cabinets to make items more accessible.
- Provide helpful tools like easy-grip jar openers and long-handled reacher grabbers.
- General Safety:
- Ensure good, direct lighting over countertops and the sink.
- Immediately clean up any spills.
- Provide a sturdy stool with a handle so they can sit while preparing food to combat fatigue.
Living Room / Common Areas
The goal here is to create open, easy-to-navigate spaces.
- Furniture Arrangement:
- Arrange furniture to create wide, clear pathways.
- Remove low coffee tables that are hard to see and easy to trip over.
- Ensure chairs and sofas are at a height that is easy to get up from.
- Flooring: Remove all throw rugs. They are the #1 trip hazard in living rooms. If a rug is essential, it must be low-pile and secured on all edges with non-slip backing or tape.
- Cords and Lighting: Secure all electrical and cable cords along baseboards so they are not a trip hazard. Ensure the room is well-lit with lamps that are easy to turn on and off.
Outdoor and Entryway Safety
Safety begins before they even get inside the house.
- Entrances: Install sturdy handrails on both sides of all entry steps. Apply non-slip tread tape to steps and consider a ramp if stairs become too difficult.
- Lighting: Install bright, motion-activated lights at all entrances and along walkways.
- Walkways: Repair any cracked or uneven pavement. Keep paths clear of hoses, tools, snow, and leaves.
Budget Breakdown: What Safety Costs
Home safety modifications can be surprisingly affordable, especially when compared to the cost of a fall or moving to a facility.
- Under $200 (The Essentials):
- 3-4 mounted grab bars, non-slip bath mats, and a set of motion-activated night lights. This covers the highest-risk areas.
- $200 – $500 (Comprehensive Safety):
- Includes the essentials plus a shower chair, a raised toilet seat, bed rails, and a handheld showerhead.
- $500 – $2,000 (Extensive Modifications):
- This tier covers professional installation of grab bars, better lighting throughout the home, or the addition of a simple wheelchair ramp.
- $2,000+ (Major Renovations):
- This is for major projects like installing a walk-in tub (3,000+)orastairlift(3,000+)orastairlift(3,000+).
When you consider that assisted living can cost over $50,000 a year, a one-time investment of $500 for critical home safety modifications for seniors is an incredible value.
DIY vs. Professional Installation
- Safe for DIY: Installing non-slip mats, plugging in night lights, replacing toilet seats, and decluttering are easy DIY tasks.
- Hire a Professional for: Mounted grab bars. This is critical. A grab bar must be anchored into wall studs to support a person’s full weight. Improper installation is a major safety risk. Also hire pros for any electrical work, stairlifts, or major remodeling.
When Modifications Aren’t Enough
Be honest and objective. Sometimes, even with extensive modifications, a home is no longer the safest place. It may be time to consider other options if your parent:
- Experiences multiple falls despite the safety changes.
- Shows signs of cognitive decline that make them unable to use safety aids correctly.
- Is becoming severely isolated and lonely at home.
In these cases, the next step is to explore assisted living vs. memory care or have a compassionate conversation about moving.
Conclusion
Making home safety modifications can give your parent the priceless gift of additional years of independence in the home they cherish. For a modest investment of a few hundred dollars and a weekend of focused effort, you can significantly reduce the risk of a life-altering fall and provide profound peace of mind for both of you.
Start with the highest-priority area—the bathroom—and work your way through this checklist. Install grab bars, add more lighting than you think you need, and be ruthless about removing trip hazards like throw rugs.
However, remember the ultimate goal: your parent’s safety. If these changes are still not enough to keep them safe, it’s a sign that it’s time to explore the next level of care. For now, grab this checklist and take the first step toward creating a safer home today.